Revive your iPhone 12 with a battery replacement that breathes new life into your device. If you’ve noticed your phone dying quicker than it used to or feeling sluggish, it’s time to take action. A healthy battery is vital for your device’s performance and your daily life.
Contents
- Why Battery Replacement Matters
- Signs It’s Time for a Battery Replacement
- How to Replace Your iPhone 12 Battery
- Benefits of a Battery Replacement
- Safety Tips for Battery Replacement
- When to Consider Replacement Services
- Where to Get Professional Help
- Cost Considerations
- Frequently Asked Questions (FAQs)
- Bottom Line
Why Battery Replacement Matters
Your iPhone 12 is more than just a gadget; it’s your connection to the world. It holds your photos, your contacts, and your favorite apps. When the battery starts to falter, it’s not just inconvenient—it can be downright frustrating. Understanding battery replacement is key to maintaining your device and ensuring it serves you well for years to come.
Signs It’s Time for a Battery Replacement
Before diving into the “how,” let’s explore the “when.” Pay attention to these signs:
- Rapid Battery Drain: If your iPhone 12 drops from 100% to 20% in a couple of hours, something’s off.
- Overheating: A warm device can signal battery issues.
- Unexpected Shutdowns: If your phone powers off even when there’s charge left, it’s waving a red flag.
- Poor Performance: Slow app launches or lagging can often be traced back to a weak battery.
If any of these resonate with you, don’t ignore them. A battery replacement could turn your frustrating experience into a smooth one.
How to Replace Your iPhone 12 Battery
DIY Approach vs. Professional Help
You have options. You can take on the challenge yourself or seek professional assistance. Here’s what to consider:
DIY Approach
If you’re a bit tech-savvy, replacing the battery yourself can be rewarding. Here’s a quick rundown of what you’ll need:
- Tools: A Pentalobe screwdriver, a suction cup, and a plastic spudger.
- Replacement Battery: Ensure you buy a reputable battery from a trusted vendor.
Professional Help
Not everyone is comfortable with DIY repairs, and that’s perfectly fine. If you’re unsure, visiting an Apple Store or a certified repair shop is the way to go. Professionals can ensure the job is done right, keeping your warranty intact.
Step-by-Step DIY Battery Replacement
Ready to tackle it yourself? Here’s a step-by-step guide.
Tools and Materials
- Pentalobe screwdriver
- Suction cup
- Plastic spudger
- Replacement battery
- Tweezers (optional)
Step 1: Power Down Your iPhone 12
Safety first! Hold the side button and slide to power off your device.
Step 2: Remove the Pentalobe Screws
Locate the two Pentalobe screws next to the Lightning connector. Remove them carefully and set them aside.
Step 3: Create a Gap
Using the suction cup, gently pull the screen away from the body. Insert the plastic spudger into the gap to help lift the screen. Be gentle to avoid damaging the display.
Step 4: Disconnect the Battery
Once the screen is lifted, you’ll see the battery connector. Use your spudger to disconnect it.
Step 5: Remove the Old Battery
Carefully pry the old battery out. If it’s stuck, gently wiggle it free.
Step 6: Install the New Battery
Place the new battery into the slot and reconnect the battery connector.
Step 7: Reassemble Your iPhone
Carefully align and press the screen back into place. Don’t forget to replace the Pentalobe screws.
Step 8: Power Up
Turn on your iPhone 12 and bask in the glory of your hard work!
Benefits of a Battery Replacement
Replacing your iPhone 12 battery isn’t just about longevity; it has real benefits:
- Improved Performance: A new battery can enhance your phone’s speed and responsiveness.
- Extended Lifespan: A fresh battery can keep your device functional for years.
- Cost-Effective: A battery replacement is generally cheaper than buying a new phone.
Safety Tips for Battery Replacement
If you’re going the DIY route, remember these safety tips:
- Work in a Safe Environment: A clean, flat surface is ideal.
- Use Proper Tools: Using the right tools reduces the risk of damage.
- Be Gentle: Avoid using excessive force; patience is key.
- Dispose of Batteries Properly: Take your old battery to a recycling center.
When to Consider Replacement Services
If your iPhone 12 shows severe damage, consider professional help. Signs include:
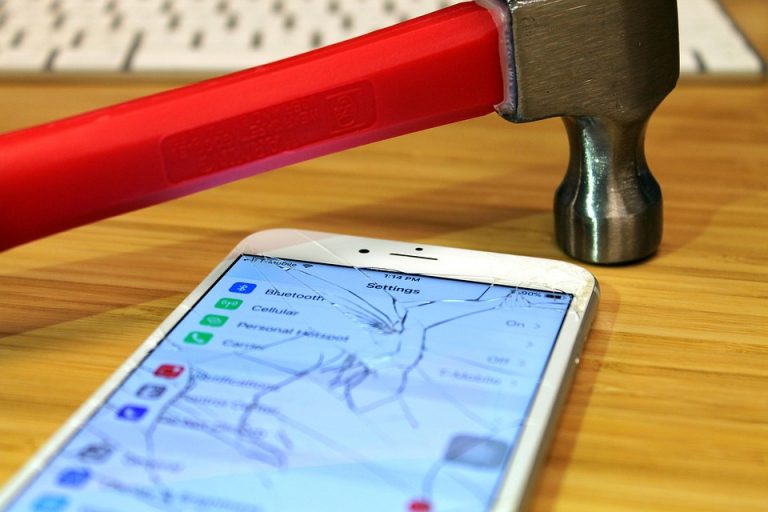
- Cracked Screen: A damaged screen can complicate battery replacement.
- Water Damage: If your phone has been exposed to moisture, a professional inspection is crucial.
- Software Issues: Sometimes, a battery replacement won’t resolve software-related problems.
Where to Get Professional Help
If you decide to opt for professional help, here are some trustworthy options:
- Apple Service Centers: They offer genuine parts and trained technicians.
- Authorized Repair Shops: Look for a shop that is Apple-certified.
- Local Repair Shops: Research reviews and ensure they use quality parts.
Cost Considerations
Whether you’re doing it yourself or seeking professional help, understanding costs is essential:
- DIY Costs: Expect to spend around $30 to $50 for a quality replacement battery.
- Professional Costs: Repair services typically range from $70 to $150, depending on the shop and warranty options.
Frequently Asked Questions (FAQs)
How Long Does a New Battery Last?
A new battery can last anywhere from 2-3 years with proper care.
Can I Use a Third-Party Battery?
Yes, but ensure it’s from a reputable supplier to avoid potential issues.
How Do I Know If My Battery Needs Replacing?
Monitor your battery health in settings. If it drops below 80%, consider a replacement.
Is It Worth Replacing the Battery?
Absolutely! A new battery can rejuvenate your device and extend its life.
Bottom Line
Reviving your iPhone 12 with a battery replacement is not just a necessity; it’s an investment in your connection to the world. Whether you choose to go the DIY route or seek professional help, taking action can breathe new life into your device. Don’t let a tired battery hold you back. Embrace the change and enjoy your rejuvenated iPhone experience!
So, what are you waiting for? Your iPhone 12 deserves this!