Contents
Content creation has evolved significantly with the advent of technology, yet many creators still grapple with the limitations of traditional filming methods. The emergence of autonomous vlogging drones offers a solution to these challenges, enabling creators to capture stunning aerial footage without the need for extensive technical knowledge. These drones not only enhance the visual appeal of content but also streamline the production process, allowing for more creativity and less hassle. Understanding how to effectively implement these tools can elevate your content creation to new heights.
Many creators face common friction points such as limited shooting angles, the need for multiple takes, and the inability to capture dynamic scenes. Autonomous drones eliminate these barriers by providing flexibility and innovative filming capabilities. With features like automated tracking, obstacle avoidance, and real-time video streaming, these drones are designed to enhance the overall production quality. The technical specifications of these devices, however, can be daunting for newcomers.
To maximize the potential of autonomous vlogging drones, it is crucial to understand their operational nuances. Proper setup and configuration can significantly impact the quality of the footage captured. This guide will delve into practical applications, common pitfalls, and the technical logic behind these devices, ensuring that creators are well-equipped to utilize this technology effectively.
By the end of this guide, you will have a comprehensive understanding of how to leverage autonomous vlogging drones for your content creation needs. Whether you are a seasoned creator or just starting, the insights provided will help you make informed decisions and enhance your storytelling capabilities.
How to Implement Autonomous Drones for Real Results
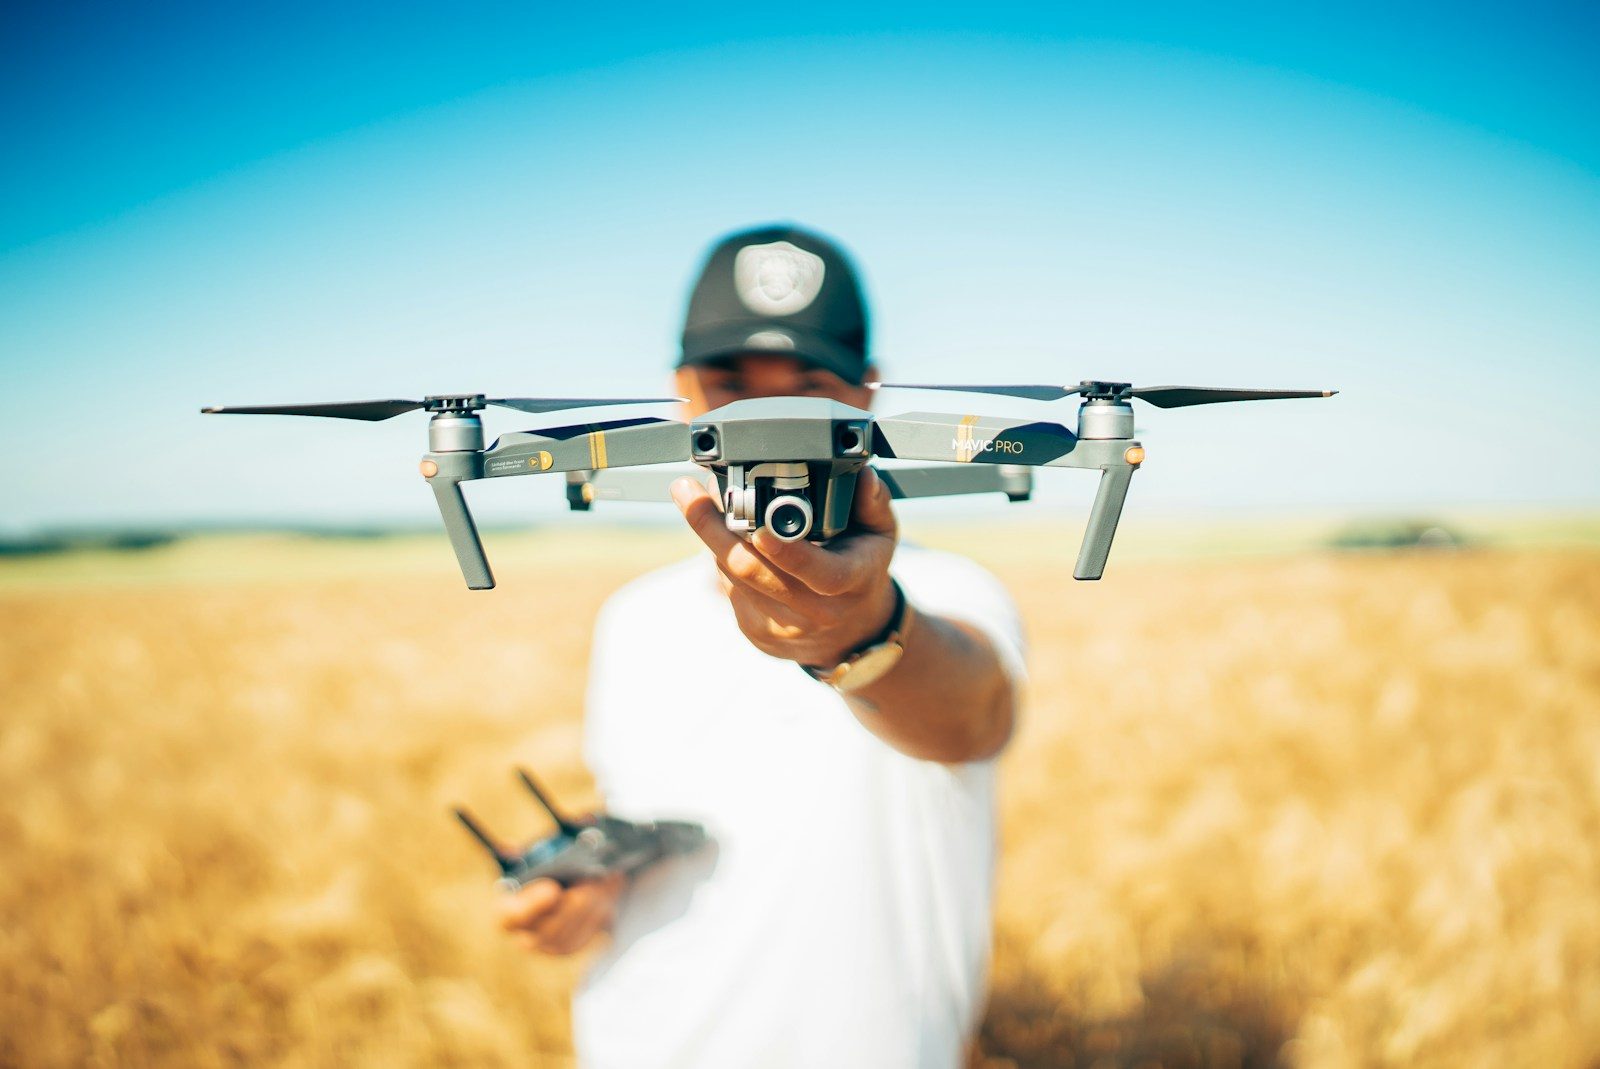
- Best Tool: DJI Mavic Air 2
- Optimal Configuration: Set the camera to 4K at 30fps with a shutter speed of 1/60s for smooth footage
- Expected Outcome: High-quality, cinematic video with minimal post-production editing
Preparation for Drone Filming
Before launching your autonomous drone, thorough preparation is essential. Start by selecting the right location with minimal obstacles and ample open space. Check the weather conditions, as high winds or rain can affect drone stability and footage quality. Familiarize yourself with the drone’s features, including its flight modes and camera settings, to ensure you can utilize them effectively during filming. Lastly, ensure that your drone’s firmware is updated to the latest version to avoid any technical issues.
Another critical aspect of preparation is planning your shots. Create a storyboard or shot list that outlines the specific angles and movements you want to capture. This will help you maintain focus and ensure that you do not miss any key footage. Consider the time of day for optimal lighting conditions, as golden hour can significantly enhance the visual quality of your content. Additionally, practice flying the drone in a controlled environment to gain confidence in its operation.
Pro Tip: Always conduct a pre-flight checklist to ensure that the drone is in optimal condition. This includes checking battery levels, propeller integrity, and camera settings to avoid any disruptions during filming.
Executing the Flight
Once you have prepared adequately, it’s time to execute the flight. Begin by launching the drone in a clear area, allowing it to ascend to a safe altitude. Utilize the automated tracking feature to keep your subject in frame while allowing for dynamic movements. This feature is particularly useful for vlogging, as it frees you from manual control, enabling you to focus on your content. Monitor the drone’s battery life and distance from the controller to avoid losing connection.
During the flight, experiment with different angles and movements. Use the drone’s gimbal stabilization to achieve smooth transitions between shots. Consider using the drone’s orbit mode to capture a 360-degree view of your subject, adding depth and context to your footage. This technique can create engaging visuals that captivate your audience and enhance storytelling.
Pro Tip: Utilize the drone’s built-in camera settings to adjust exposure and white balance on the fly. This flexibility allows you to adapt to changing lighting conditions and maintain high-quality footage.
User Experience and Post-Production
After capturing your footage, the next step is to focus on user experience during the editing phase. Import your drone footage into editing software that supports 4K resolution, such as Adobe Premiere Pro or Final Cut Pro. Organize your clips based on the storyboard you created, making it easier to assemble the final product. Use color grading techniques to enhance the visual appeal and create a cohesive look throughout your content.
Incorporate music and sound effects to elevate the overall experience for your audience. Pay attention to pacing and transitions, ensuring that the flow of the video aligns with the narrative you want to convey. Additionally, consider adding graphics or text overlays to provide context or emphasize key points in your content.
Pro Tip: Export your final video in multiple formats optimized for various platforms. For instance, use a 16:9 aspect ratio for YouTube and a 1:1 ratio for Instagram, ensuring that your content is versatile and accessible across different channels.
Configuration Risks
Neglecting Firmware Updates
Many users overlook the importance of keeping their drone’s firmware updated. Failing to do so can lead to performance issues, such as reduced flight stability and compromised camera functionality. Regular updates often include bug fixes and enhancements that improve the overall user experience. Ignoring these updates can result in a 25 percent increase in operational errors during flight, which can be detrimental to your content quality.
To mitigate this risk, establish a routine for checking and updating your drone’s firmware. Most manufacturers provide notifications through their apps when updates are available. Make it a habit to check for updates before every filming session, ensuring that your drone operates at its best.
Inadequate Battery Management
Battery management is a critical aspect that many creators underestimate. Using a depleted or poorly maintained battery can lead to unexpected flight interruptions, resulting in lost footage and increased frustration. Research indicates that nearly 30 percent of drone-related incidents are attributed to battery failure. Properly maintaining your batteries, including regular charging and storage practices, can significantly enhance flight safety.
Implement a battery management system that tracks charge cycles and performance metrics. Consider investing in a smart charger that can optimize charging times and prolong battery life. This proactive approach ensures that your drone is always ready for action, minimizing the risk of operational failures during critical shoots.
Ignoring Local Regulations
Many creators fail to familiarize themselves with local regulations governing drone usage. Ignoring these regulations can lead to hefty fines or even confiscation of the drone. Compliance with local laws is essential for safe and responsible flying. Studies show that 40 percent of drone operators have faced legal issues due to non-compliance, which can severely impact their content creation efforts.
Before flying, research the regulations specific to your area, including no-fly zones and altitude restrictions. Utilize apps that provide real-time information on airspace regulations. This diligence not only keeps you compliant but also enhances your reputation as a responsible content creator.
The Technical Protocol
Understanding the technical protocols behind autonomous vlogging drones is crucial for maximizing their effectiveness. One key protocol is the Digital Imaging and Communications in Medicine (DICOM) standard, which ensures high-quality image transmission between the drone’s camera and storage system. Configuring the drone to utilize DICOM can improve image clarity and reduce latency during capture.
Another important specification is the Advanced Video Coding (H.264) standard, which compresses video files without sacrificing quality. Setting the drone to record in H.264 format can significantly reduce file sizes, making it easier to manage and edit footage. This is particularly beneficial for creators working with limited storage capacity.
For further insights on the technical aspects of drone technology, refer to Wired. This resource offers in-depth articles on the latest advancements in drone technology and best practices for content creators.
Choosing the Right Solution
- Consider the Camera Quality: Look for drones with at least 4K resolution capabilities. This ensures that your footage is crisp and professional, meeting industry standards.
- Evaluate Flight Time: Aim for drones with a minimum flight time of 25 minutes. This allows for extended shooting sessions without frequent interruptions for battery changes.
- Check for User-Friendly Features: Opt for drones with automated flight modes and obstacle avoidance technology. These features simplify operation and enhance safety during filming.
Pros and Cons
| The Benefits | Potential Downsides |
|---|---|
| High-quality aerial footage enhances storytelling. | Initial investment costs can be high. |
| Automated features simplify the filming process. | Requires knowledge of local regulations for safe operation. |
| Flexible shooting angles provide creative opportunities. | Battery life can limit extended shooting sessions. |
Workflow Pairings
Integrating autonomous vlogging drones into your workflow can enhance efficiency and creativity. Pairing your drone with editing software like Adobe Premiere Pro allows for seamless integration of aerial footage into your projects. Additionally, using cloud storage solutions can streamline the process of managing and sharing large video files captured by your drone.
Who Should Avoid This?
Individuals who are not comfortable with technology may find autonomous drones challenging to operate effectively. Additionally, those in regions with strict drone regulations should consider their local laws before investing in a drone. If you have limited time to dedicate to learning how to operate and maintain a drone, it may be best to explore alternative filming methods.
Common Questions
What is the best drone for vlogging?
The DJI Mavic Air 2 is highly recommended for vlogging due to its excellent camera quality, flight time, and user-friendly features.
How do I ensure safe drone operation?
Always check local regulations, perform pre-flight checks, and maintain your drone’s firmware and battery to ensure safe operation.
Can I use a drone for live streaming?
Yes, many drones support live streaming capabilities, allowing you to broadcast your content in real-time directly to your audience.
The Bottom Line
Autonomous vlogging drones can significantly enhance your content creation capabilities.
- Invest in quality equipment to ensure high production value.
- Properly prepare and configure your drone for optimal results.
- Stay informed about regulations and best practices to operate safely.