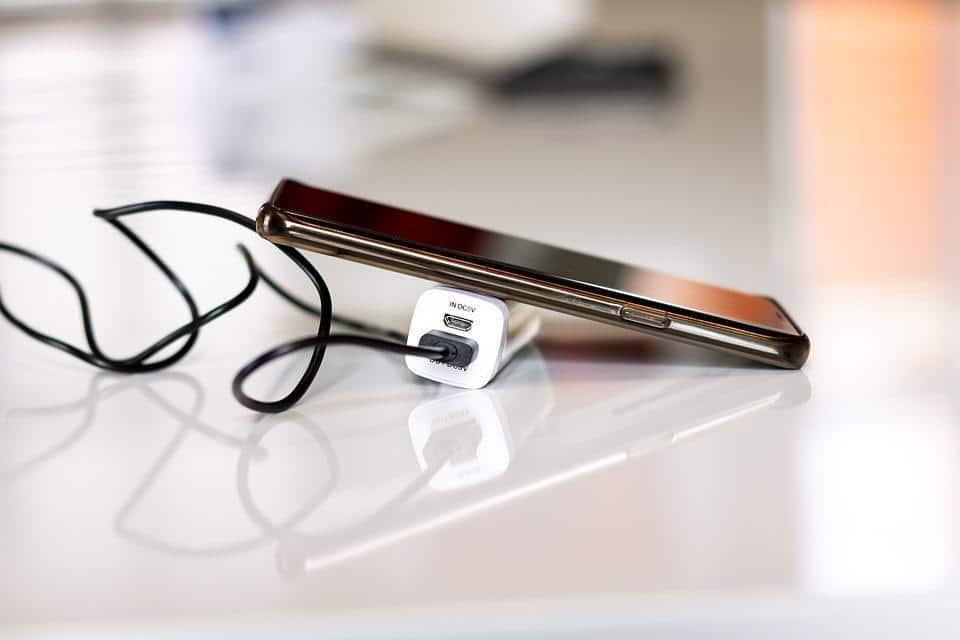
Is your Android phone not charging? It’s a frustrating experience, isn’t it? You glance at your phone, expecting to find a fully juiced-up device, only to see that dreaded low battery warning. Don’t panic. You’re not alone, and you certainly don’t have to live with a dead phone. Let’s dive into seven quick fixes that can get your phone back up and running in no time.
Contents
Understanding the Importance of a Charging Phone
Your smartphone is more than just a device; it’s your lifeline. It connects you to loved ones, keeps you on schedule, and provides access to a world of information. When your phone isn’t charging, it can feel like a mini-crisis. Understanding why this happens and knowing how to fix it can save you time, stress, and a trip to the repair shop.
Why Your Android Phone Might Not Be Charging
Before we jump into solutions, let’s look at what might be causing the issue. Common culprits include:
- Faulty cables or chargers
- Dirty charging ports
- Software glitches
- Battery issues
- Power source problems
Once you understand these potential problems, you’ll be better equipped to tackle them.
1. Check Your Charging Cable and Adapter
Your first step should be to inspect your charging cable and adapter. A worn-out or damaged charger can prevent your phone from charging properly. Here’s what to look for:
- Physical Damage: Check for frays or breaks in the cable.
- Compatibility: Ensure that your charger is compatible with your device. Using a non-certified charger can lead to issues.
- Test with Another Device: If possible, try using your charger with another phone. If it doesn’t charge that phone either, you may need a new charger.
What You Can Do
- Purchase a Certified Charger: Always opt for original or certified chargers to avoid issues down the line.
2. Clean Your Charging Port
A dirty charging port can be a sneaky little culprit behind your charging woes. Dust, lint, or debris can accumulate over time, preventing a proper connection.
How to Clean It Safely
- Use a Toothpick or Soft Brush: Gently remove any obstructions. Be careful not to damage the internal components.
- Compressed Air: A quick blast can dislodge stubborn particles.
3. Restart Your Phone
Sometimes, all your device needs is a little reset. A simple restart can clear out minor software glitches that may be affecting your charging capabilities.
Steps to Restart
- Hold the Power Button: Press and hold until the power menu appears.
- Select Restart: Choose the restart option, and wait for your phone to reboot.
4. Check for Software Updates
Outdated software can lead to unexpected issues, including charging problems. Keeping your phone’s software updated ensures that you have the latest performance fixes and improvements.
How to Check for Updates
- Go to Settings: Open the settings app on your phone.
- Scroll to About Phone: Look for the system update option.
- Download and Install: If an update is available, follow the prompts to install it.
5. Try a Different Power Source
Sometimes, the issue isn’t with your phone but rather with the power source itself. If you’re charging through a wall socket, try switching to a different one.
Alternative Options
- USB Port on a Computer: Plugging your phone into a computer can sometimes work when wall chargers fail.
- Power Banks: If you have one, it can be a handy backup.
6. Check Battery Health
If your Android phone still isn’t charging, it might be time to consider the health of your battery. Over time, batteries degrade and lose their ability to hold a charge.
Signs of a Failing Battery
- Unexpected Shutdowns: If your phone dies suddenly, even with a charge, it might indicate a battery issue.
- Overheating: If your phone gets unusually hot while charging, it’s a red flag.
What to Do
- Consult a Professional: If you suspect battery failure, it’s best to have a technician evaluate it. They can provide insights and solutions tailored to your device.
7. Factory Reset (As a Last Resort)
If all else fails, a factory reset might be the solution to your charging troubles. This step wipes your phone clean and returns it to its original settings.
Important Note
Before opting for a factory reset, make sure to back up your data. This process will erase everything, and you don’t want to lose important files.
How to Factory Reset
- Go to Settings: Open your settings app.
- Select System: Navigate to the reset options.
- Choose Factory Reset: Follow the instructions to reset your phone.
Bottom Line
Dealing with an Android phone that won’t charge can feel like a daunting task, but don’t let it get you down. By following these seven quick fixes, you can troubleshoot and potentially solve the issue without the stress of a costly repair. Remember, keeping your device in good condition is key to avoiding future problems.
If you’re still having trouble, don’t hesitate to reach out for professional help. Your phone is a crucial part of your daily life, and you deserve a device that works as hard as you do.
FAQs
Q: Can I use any charger for my Android phone?
A: While many chargers are compatible, it’s best to use the original or certified chargers designed for your device.
Q: What causes my phone to charge slowly?
A: Slow charging can be caused by a faulty cable, a dirty port, or a weak power source. Check each of these before seeking further help.
Q: How often should I replace my phone’s battery?
A: Typically, a phone battery can last 2-3 years before it begins to degrade significantly. If you notice performance issues, consider a replacement.
Take control of your phone’s functionality today. Your connection to the world is just a charging cable away!


