Are you tired of waiting for your MacBook repairs? DIY MacBook repairs can save you time and money. With the right tools in your hands, you can tackle common issues with confidence. Whether it’s a cracked screen, a sluggish battery, or a malfunctioning keyboard, you don’t need to be a tech wizard to get your beloved device back in shape. Let’s dive into the essential tools that will empower you to become your own MacBook repair expert.
Contents
Why DIY MacBook Repairs Matter
DIY repairs not only save you cash, but they also give you a sense of accomplishment and control. Instead of handing over your device to a stranger, you can nurture it back to health yourself. Plus, understanding your device helps you make informed decisions about future upgrades or repairs.
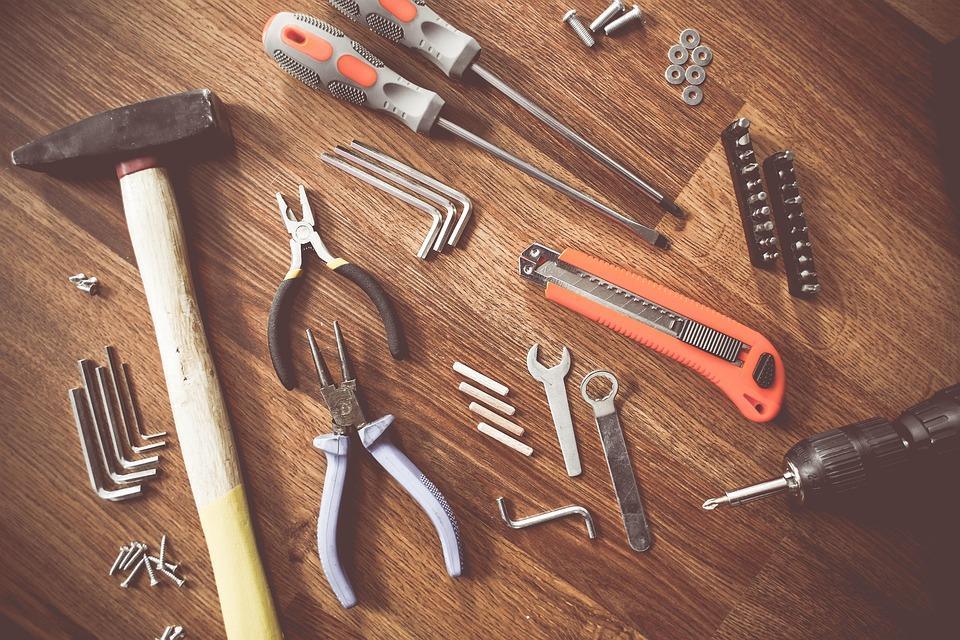
Having the right tools is crucial. With them, you can troubleshoot issues effectively, replace parts, and keep your MacBook performing at its best. Let’s explore the seven essential tools that every DIY MacBook repair enthusiast should have.
1. Precision Screwdriver Set
The first tool you absolutely need is a precision screwdriver set. MacBooks are known for their sleek design, but that also means they use tiny screws that require precision to remove.
Why You Need It:
- Variety of Sizes: A good set includes Phillips, Pentalobe, and Torx screwdrivers, accommodating all the different screws in your MacBook.
- Ergonomic Design: Comfort is key when you’re working on delicate components.
2. Spudger
Next up is the spudger. This handy little tool is made from plastic and is perfect for prying open the MacBook’s casing without damaging it.
Why You Need It:
- Safe Opening: It prevents scratches and ensures you don’t accidentally harm internal components.
- Versatile Use: You can also use it for disconnecting cables and lifting components.
3. Anti-Static Wrist Strap
Prevent static electricity from wreaking havoc on your MacBook’s sensitive components by using an anti-static wrist strap.
Why You Need It:
- Protects Components: It grounds you, helping to avoid damaging your motherboard and other parts.
- Peace of Mind: You can focus on the repair, knowing you’re protecting your device.
4. Magnetic Parts Tray
When working on your MacBook, it’s easy to lose screws and small parts. Enter the magnetic parts tray!
Why You Need It:
- Keeps Everything Organized: No more searching for that tiny screw you dropped.
- Increases Efficiency: You’ll save time and frustration during repairs.
5. MacBook Repair Toolkit
Consider investing in a complete MacBook repair toolkit. These kits usually come with all the essential tools you’ll need, bundled together for convenience.
Why You Need It:
- Cost-Effective: Buying a kit can often be cheaper than purchasing individual tools.
- Convenience: Everything is in one place, making it easy to grab what you need for any job.
6. Cleaning Kit
Your MacBook deserves a little TLC. A good cleaning kit can help you keep it looking and functioning like new.
Why You Need It:
- Maintains Performance: Dust and debris can hinder performance; regular cleaning helps avoid this.
- Enhances Aesthetics: A clean MacBook looks professional and inviting.
7. Replacement Parts
Finally, keep a stock of replacement parts on hand. Whether it’s a new battery, keyboard, or screen, having these ready can save significant downtime.
Why You Need It:
- Quick Fixes: You won’t have to wait for parts to arrive when something goes wrong.
- Custom Upgrades: Easily upgrade your machine to keep it current.
How to Use These Tools Effectively
Now that you know what tools you need, let’s explore how to use them effectively:
Step 1: Prepare Your Workspace
- Clean and Organized: Ensure your workspace is free of clutter. A clean area will help you focus.
- Good Lighting: Set up in a well-lit area to see all the details clearly.
Step 2: Gather Your Tools
Before you start, gather all the tools mentioned above. Having everything at your fingertips will make the repair process smoother.
Step 3: Refer to Instructions
Don’t hesitate to look up tutorials or guides specific to your MacBook model. Websites like iFixit provide step-by-step instructions and can be invaluable resources.
Step 4: Take Your Time
Repairing your MacBook is not a race. Take your time to ensure that you’re doing everything correctly. Rushing can lead to mistakes.
Step 5: Test Your Repairs
Once you’ve completed your repairs, test everything before closing your MacBook up. Make sure it’s functioning as expected.
Troubleshooting Common Issues
Battery Issues
If your MacBook battery drains quickly or won’t charge, it might be time for a replacement. Use your precision screwdriver and follow online guides to replace it safely.
Cracked Screen
A cracked screen is frustrating but fixable. Use your spudger to carefully pry the screen apart and replace it with a new one.
Keyboard Malfunctions
If your keys stick or don’t respond, consider cleaning them with your cleaning kit. If that doesn’t work, you may need to replace the keyboard.
Where to Find Replacement Parts
Finding reliable replacement parts is crucial for a successful DIY repair. Here are some reputable sources:
- iFixit: They offer a wide variety of parts and repair guides tailored for MacBooks.
- Amazon: Always check for reviews to ensure quality when buying parts.
- eBay: Look for trusted sellers with good ratings for affordable options.
Final Thoughts on DIY MacBook Repairs
Embarking on DIY MacBook repairs doesn’t have to be daunting. With the right tools and a little patience, you can handle repairs that might have seemed impossible.
Bottom Line
Investing in these seven essential tools for DIY MacBook repairs will not only save you money but also empower you to take control of your technology. You’ll feel a sense of pride every time you successfully repair your device.
Every MacBook enthusiast should have these tools at their disposal. So why wait? Gather your toolkit, roll up your sleeves, and give your MacBook the love it deserves.
FAQ
Q: Are DIY repairs safe for my MacBook?
A: Yes, as long as you follow guides closely and use the right tools, DIY repairs can be safe and effective.
Q: Can I void my warranty by doing repairs myself?
A: Yes, opening your MacBook can void the warranty, so check your warranty status before proceeding.
Q: Where can I find repair guides?
A: Websites like iFixit and YouTube are excellent resources for step-by-step repair instructions.
Now it’s your turn! Grab those tools and start your DIY journey. Your MacBook will thank you!