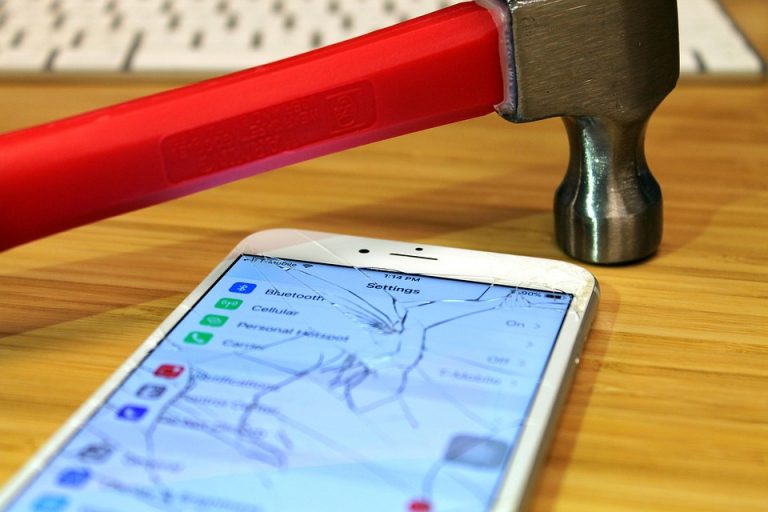
When it comes to MacBook hardware repair, you want to ensure that your beloved device gets the care it deserves. With its sleek design and powerful performance, a MacBook isn’t just a laptop; it’s an extension of your creativity and productivity. But what happens when something goes wrong? Fear not! I’m here to guide you through the essential tips that will empower you to tackle hardware issues like a pro.
Contents
Understanding the Importance of MacBook Hardware Repair
Before diving into the hands-on tips, let’s take a moment to understand why effective hardware repair is crucial. Your MacBook is a sophisticated machine. It houses intricate components that work together to give you the seamless experience you’ve come to love. When a hardware issue arises, it can disrupt your workflow, hinder your creativity, and even lead to data loss. Knowing how to approach repairs can save you time, money, and emotional frustration.
1. Assess the Problem Thoroughly
The first step in any effective MacBook hardware repair is to diagnose the issue accurately. Is your screen flickering? Are you facing keyboard malfunctions? Or is your MacBook refusing to charge? Take a moment to sit down and assess the symptoms.
- Make notes about when the problem occurs.
- Identify any recent changes—like software updates or physical damage.
- Search online for similar experiences; platforms like Apple Support Communities can be incredibly helpful.
By pinpointing the problem, you’ll save yourself time in the long run.
2. Gather the Right Tools
You wouldn’t go into battle without the right armor, would you? Similarly, when tackling MacBook hardware repairs, having the right tools is essential. Here’s what you’ll need:
- Screwdrivers: A set that includes P5 and P6 Pentalobe screwdrivers for the exterior.
- Tweezers: For handling small components.
- Opening tools: Plastic spudgers or picks to carefully open your device without damaging it.
- Anti-static wrist strap: This protects your device from electrostatic discharge.
Having the right tools not only makes the process easier but also reduces the risk of damaging your MacBook further.
3. Follow Comprehensive Guides and Resources
You’re not alone in this journey! There are countless resources available for DIY repairs. Websites like iFixit provide detailed guides, including step-by-step instructions, diagrams, and even videos. These resources can help you navigate through the repair process with confidence.
- Read through the entire guide before starting.
- Watch tutorial videos, if available; seeing the process can clarify complex steps.
- Join forums where others have shared their repair experiences.
When you’re armed with knowledge, you’re one step closer to a successful repair.
4. Take Safety Precautions
Safety should always come first. Working with electronics can be risky if you’re not careful. Here are a few precautions to keep in mind:
- Unplug your MacBook before starting any repairs.
- Work in a clean, well-lit area to avoid losing small parts.
- Avoid working on carpeted surfaces to minimize static electricity.
- Be gentle when handling components; they can be fragile.
By prioritizing safety, you protect not only your MacBook but yourself as well.
5. Know When to Seek Professional Help
While DIY repairs can be empowering, there are times when it’s best to leave it to the professionals. If you encounter a problem that feels beyond your expertise, don’t hesitate to reach out for help.
- Look for authorized service providers or local repair shops with good reviews.
- Check warranty status; if your MacBook is still under warranty, it’s worth it to have Apple handle the repairs.
- Ask questions; a reputable technician should be willing to explain the issue and the repair process.
Trust your instincts. If something feels off, it’s okay to step back.
6. Regular Maintenance for Longevity
Prevention is better than cure. Regular maintenance can help you avoid hardware issues down the line. Here are a few simple habits to adopt:
- Keep your MacBook clean: Dust and debris can accumulate over time, affecting performance.
- Monitor battery health: Check your battery’s status regularly to avoid unexpected shutdowns.
- Update software: Keeping your operating system and apps updated can prevent compatibility issues.
By incorporating these practices, you ensure that your MacBook remains in top shape, prolonging its lifespan and performance.
7. Join the Community
Engaging with the MacBook community can enhance your repair experience. Whether you’re looking for advice, support, or just someone to share your journey with, connecting with fellow MacBook enthusiasts can be invaluable.
- Follow online forums and social media groups dedicated to MacBook repairs.
- Attend local tech meetups or workshops; learning from others can provide new insights.
- Share your experiences; you never know who you might inspire!
Creating connections not only enriches your knowledge but also makes the repair journey a lot more fun.
Bottom Line
Effective MacBook hardware repair is more than just fixing a broken device; it’s about taking control of your technology. By assessing problems thoroughly, gathering the right tools, using comprehensive resources, prioritizing safety, knowing when to seek help, maintaining your device, and connecting with a community, you can navigate repairs like a pro.
So, the next time your MacBook throws a tantrum, remember these essential tips. You’ve got this!
FAQs
1. How do I know if my MacBook is still under warranty?
You can check your warranty status by visiting the Apple Support website and entering your device’s serial number.
2. Can I replace the battery myself?
Yes, you can replace the battery yourself if you have the right tools and follow a reliable guide. However, if you’re unsure, consider seeking professional help.
3. What should I do if I break something during repair?
Stay calm! Assess the situation and see if it’s something manageable. If not, consult a professional repair service to avoid further damage.
Remember, your MacBook deserves the best care, and so do you!


