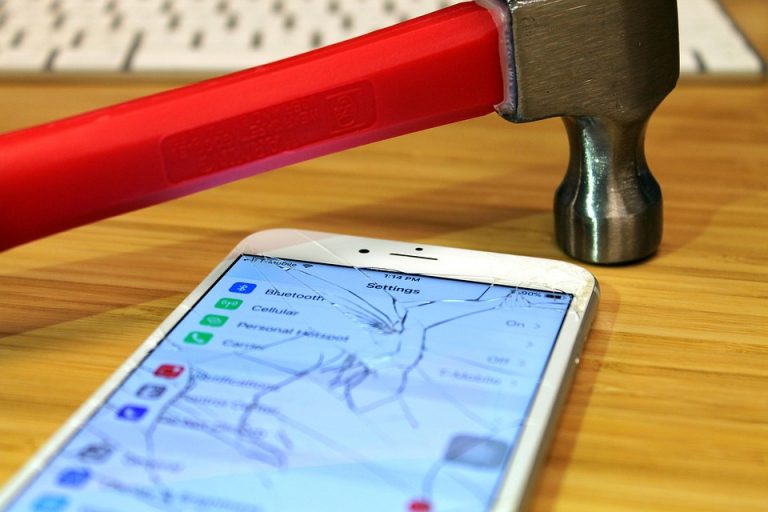
Recovering data from iPhone 11 can feel overwhelming, especially when you’ve just lost precious memories or important files. But don’t panic; I’m here to guide you through seven effective methods that can help you reclaim what’s yours.
Contents
Understanding Data Loss on Your iPhone 11
Data loss can happen for various reasons—accidental deletion, software glitches, or even a device malfunction. With our lives intertwined with our devices, losing photos, contacts, or critical documents can be a gut-wrenching experience. Understanding how to recover data is not just about retrieving files; it’s about restoring peace of mind.
Why You Should Care About Data Recovery
Your iPhone is more than just a gadget; it’s a vault of your life’s moments. When data disappears, it can affect not just your memory but also your productivity. Knowing how to recover information can empower you and save you time, stress, and potential financial loss.
1. Utilize iCloud Backup
The simplest way to recover data from your iPhone 11 is through iCloud. This cloud service is designed by Apple to help you back up and restore your data effortlessly.
- Step 1: Go to Settings > [Your Name] > iCloud > iCloud Backup.
- Step 2: Ensure that iCloud Backup is turned on.
- Step 3: Tap Back Up Now to create a fresh backup.
If you’ve lost data, you can restore from this backup during the setup of your iPhone or by going to Settings > General > Reset > Erase All Content and Settings.
Why It Matters
Using iCloud not only secures your data but also makes the recovery process seamless. It’s a preventive measure that ensures your important files are always just a tap away.
2. Check iTunes Backup
If you prefer a more traditional method, using iTunes can be your go-to solution for data recovery.
- Step 1: Connect your iPhone 11 to your computer.
- Step 2: Launch iTunes. If you’re using a Mac with macOS Catalina or later, open Finder.
- Step 3: Select your device from the sidebar.
- Step 4: Click Restore Backup and choose the relevant backup.
The Benefits of iTunes Backup
iTunes allows you to create full-device backups, which can be more comprehensive than iCloud. This is particularly useful if you have a lot of data and want to ensure nothing is left behind.
3. Use Third-Party Recovery Software
Sometimes, built-in options just won’t cut it. This is where third-party data recovery tools come into play. Programs like Dr.Fone, Tenorshare UltData, or EaseUS MobiSaver can effectively recover lost files.
- Step 1: Download and install the software.
- Step 2: Connect your iPhone to the computer.
- Step 3: Follow the prompts to scan for lost data.
Why Choose Third-Party Tools?
These tools often have advanced algorithms that can dig deeper than standard backups. They can retrieve deleted files even if you haven’t backed them up, offering a second chance at reclaiming your lost treasures.
4. Restore from an Old iCloud Account
If you’ve switched iPhones or iOS versions, you might still have access to an old iCloud account.
- Step 1: Log into the old iCloud account on your iPhone.
- Step 2: Navigate to Settings > [Your Name] > iCloud.
- Step 3: Check which data is available for download and restore.
The Value of Multiple Accounts
Having multiple iCloud accounts can be a lifesaver. Sometimes, we forget about backups stored in older accounts. Don’t overlook this option; it could be the key to recovering that lost data.
5. Contact Apple Support
If all else fails, don’t hesitate to reach out to Apple Support. They have specialized tools and knowledge to assist you in recovering your data.
- Step 1: Visit the Apple Support website.
- Step 2: Choose Get Support and follow the prompts.
Why Trust Apple?
Apple’s customer support is known for its expertise and reliability. They can guide you through troubleshooting steps that may not be publicly available.
6. Check Your Recently Deleted Folder
Accidentally deleted a photo or video? Before you panic, check the Recently Deleted folder in your Photos app.
- Step 1: Open the Photos app.
- Step 2: Go to Albums > Recently Deleted.
- Step 3: Select the files and tap Recover.
Quick Recovery at Your Fingertips
This method is often overlooked but can be a quick fix for minor mishaps. It’s a reminder that sometimes the solution is simpler than we think.
7. Restoring from an Email Backup
Did you send important documents or photos via email? You might still have access to them.
- Step 1: Open your email app.
- Step 2: Search for any emails with attachments.
- Step 3: Download the files directly to your device.
The Power of Email
Using your email as a backup can be incredibly effective for important documents. It’s a habit worth adopting for the future—always send yourself a copy of vital files.
Bottom Line
Recovering data from your iPhone 11 doesn’t have to be a stressful ordeal. With the right steps and tools, you can reclaim what’s important to you. Always back up regularly, explore various recovery options, and if needed, don’t hesitate to consult with experts.
Your data is your life—don’t let it slip away without a fight. Take action, and empower yourself today. You deserve peace of mind and a fully functional iPhone.
FAQ
Q: How can I prevent future data loss?
A: Regular backups via iCloud or iTunes are essential. Consider using third-party tools for additional security.
Q: Is it safe to use third-party recovery software?
A: Yes, as long as you choose reputable programs with positive reviews.
Q: What if I can’t recover my data?
A: Contact Apple Support for assistance. They may have options to help you.
Don’t wait until it’s too late—start backing up your data today and keep it safe!


