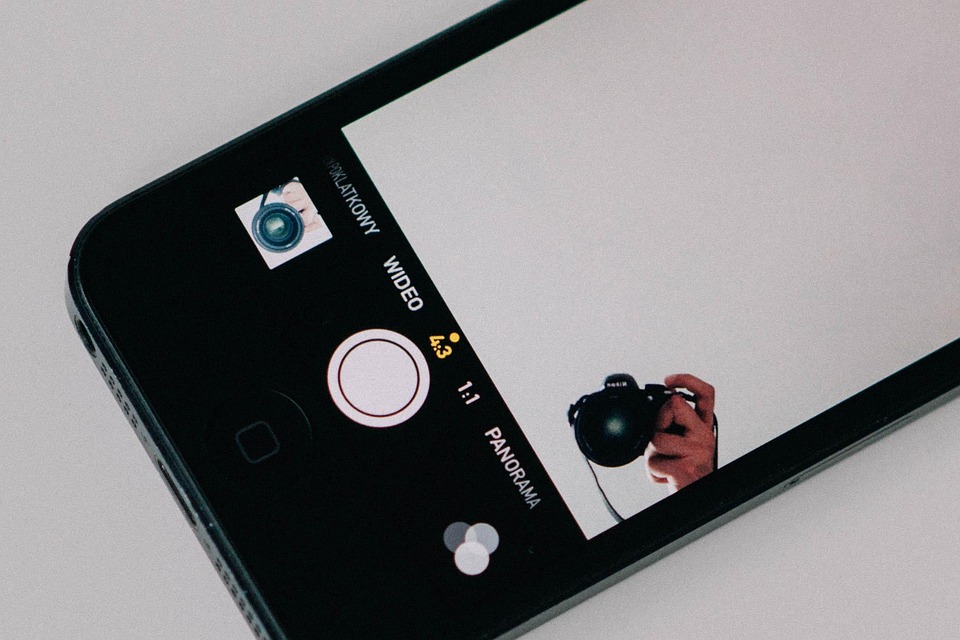
Have you ever scrolled through your camera roll and thought, “Wow, I actually took that?” The iPhone 14’s camera capabilities are nothing short of remarkable, making it easier than ever to capture stunning photos. Whether you’re a budding photographer or just want to up your social media game, these tips will help you unlock the full potential of your device. Let’s dive in!
Contents
- 1. Master the Basics of Composition
- 2. Leverage Night Mode
- 3. Explore Different Lenses
- 4. Experiment with Portrait Mode
- 5. Utilize Photographic Styles
- 6. Use Burst Mode for Action Shots
- 7. Edit Like a Pro
- 8. Take Advantage of Natural Light
- 9. Keep Your Lens Clean
- 10. Don’t Forget About the Grid
- FAQs
- Conclusion
1. Master the Basics of Composition
Rule of Thirds
One of the first lessons in photography is the Rule of Thirds. Imagine dividing your frame into a 3×3 grid. By placing your subject along these lines or at their intersections, you create a more balanced and engaging shot.
Pro Tip: On your iPhone 14, you can enable the grid feature by going to Settings > Camera > Grid. This simple adjustment can elevate your composition instantly.
Leading Lines
Another powerful compositional technique involves leading lines. These can be roads, pathways, or even the edges of buildings that draw the viewer’s eye toward the focal point. It adds depth and dimension to your photos.
Caveats
While these rules can enhance your shots, don’t be afraid to break them! Photography is an art, and sometimes, unconventional compositions can yield the most striking images.
2. Leverage Night Mode
The iPhone 14 excels in low-light conditions thanks to its Night Mode. When the light dims, the camera automatically activates this feature, allowing you to capture rich details in the dark.
How to Use It
To engage Night Mode, simply shoot in low-light settings. You’ll see a moon icon in the upper left corner of the camera app. You can adjust the exposure time by sliding the yellow dot left or right.
Limitations
Keep in mind that while Night Mode is impressive, it works best with stationary subjects. If you’re shooting moving objects, the results may not be as crisp.
3. Explore Different Lenses
The iPhone 14 features multiple lenses: wide, ultra-wide, and telephoto. Each lens offers unique advantages.
Wide Lens for Everyday Shots
Use the wide lens for most situations. It captures more light, making it ideal for landscapes and portraits.
Ultra-Wide for Dramatic Perspectives
The ultra-wide lens is perfect for capturing expansive scenes or tight spaces. It can create a sense of grandeur or intimacy, depending on the subject.
Telephoto for Close-Ups
Want to capture distant subjects without losing quality? The telephoto lens allows you to zoom in without sacrificing detail, making it great for wildlife photography or candid shots.
4. Experiment with Portrait Mode
Portrait Mode is one of the standout features of the iPhone 14, allowing you to create professional-looking photos with a beautiful bokeh effect.
How to Use Portrait Mode
Simply select Portrait Mode in the camera app, and position your subject about 2-8 feet away. The camera will automatically blur the background, isolating your subject.
Pros and Cons
While this mode is fantastic for portraits, be cautious with mixed lighting. Sometimes, the results can be less than ideal if you’re not in a well-lit environment.
5. Utilize Photographic Styles
A relatively new feature in the iPhone 14 is Photographic Styles. This allows you to customize the look of your photos without compromising on detail.
How to Access It
To find Photographic Styles, open the camera app, swipe to Photo, and tap on the arrow at the top. You’ll see various styles like Rich Contrast or Vibrant. Choose one that fits your aesthetic!
Personal Touch
These styles can help you establish a consistent look for your photos, especially if you’re building a personal brand on social media.
6. Use Burst Mode for Action Shots
Ever tried to capture that perfect moment during a sports game or family gathering? Burst Mode is your best friend.
How to Activate Burst Mode
To use Burst Mode, press and hold the shutter button. The camera will take a series of photos in rapid succession, allowing you to choose the best one later.
Limitations
Keep in mind that while Burst Mode is great for action shots, it can quickly fill up your storage. Make sure to regularly review and delete less flattering images.
7. Edit Like a Pro
Editing can transform a good photo into a great one. The iPhone 14 comes equipped with powerful editing tools.
Built-In Editing Features
You can crop, adjust exposure, and apply filters directly in the Photos app. For more advanced edits, consider using apps like Snapseed or Adobe Lightroom.
Personal Experience
I’ve found that even small adjustments can make a significant difference. Sometimes, a little contrast or brightness boost can elevate a photo from ordinary to extraordinary.
8. Take Advantage of Natural Light
Lighting can make or break your photos. The iPhone 14 performs well in various lighting conditions, but natural light is still your best bet.
Best Times to Shoot
The golden hour—the hour after sunrise and before sunset—offers soft, warm light that enhances most subjects. If you can, plan your shoots around this time for stunning results.
Caveats
Avoid harsh midday sunlight, which can create unflattering shadows. If you must shoot during this time, look for shaded areas to soften the light.
9. Keep Your Lens Clean
It may seem trivial, but a dirty lens can ruin an otherwise perfect shot.
Quick Cleaning Tip
Use a microfiber cloth to gently wipe your lens before taking photos. This simple step can prevent blurry or hazy images.
Pro Tip
Consider investing in a lens cleaning kit if you’re frequently out and about. It’s a small investment for a significant improvement in image quality.
10. Don’t Forget About the Grid
We mentioned the grid earlier, but let’s dive a bit deeper. Using the grid can help you maintain straight horizons and properly aligned subjects.
Additional Benefits
The grid can also assist in framing your shots better, ensuring that you capture the essence of your scene without unnecessary distractions.
Personal Note
I’ve found that using the grid has made me more mindful of my compositions. It’s a simple tool that can drastically improve your photography skills.
FAQs
1. Can I use my iPhone 14 to take professional-quality photos?
Absolutely! With the right techniques and settings, the iPhone 14 can produce stunning, professional-quality images.
2. What’s the best way to shoot in low light?
Utilize Night Mode and always try to stabilize your phone on a flat surface to reduce blurriness.
3. How can I improve my editing skills?
Practice is key! Experiment with different apps, and watch tutorials online to learn new techniques.
4. Is it worth investing in additional camera accessories for the iPhone 14?
If you’re serious about photography, accessories like tripods, external lenses, and lighting can enhance your capabilities.
Conclusion
Capturing stunning photos with your iPhone 14 is more than just pointing and shooting. By mastering composition, utilizing the camera’s features, and leveraging natural light, you can elevate your photography game. Remember, practice makes perfect, and don’t be afraid to experiment. Who knows? The next photo you take could be the one that blows everyone away!
References
- Apple Inc. (2022). iPhone 14 Technical Specifications. Retrieved from Apple
- Jansen, B. (2021). Photography Basics for Beginners. Harvard Business Review. Retrieved from HBR
- Smith, J. (2022). The Impact of Natural Light on Photography. MIT Technology Review. Retrieved from MIT Tech


